An engage message is a simple way to sent multiple contacts the same message, but with numerous personalisation options. You can simply follow up these messages when needed in the inbox.
In this article we will show you what to do in preparation, how you can sent out an engage message and all the steps you need to take.
Attention:
It is not possible to send an Engage message using the Safari web browser. For optimal use, we recommend using Google Chrome.
In preparation:
- The message that will be sent to the contacts is a WhatsApp Template message. Before you want to sent out your engage message you will need to create the template in the WhatsApp template manager.
Note:
Keep the supported media types in mind when creating a WhatsApp Media message Template.
- Video (only .MP4)
- Image (.PNG or .JPEG)
- File (.PDF)
- Create the right contact list. You can do this in two ways: with a CSV upload or within the platform in the contact overview. In this knowledge base article you can find tips and tricks about creating an importing a CSV file.
- Are the contacts opted in for this engage message? This means that the contacts gave permission to receive WhatsApp messages from your company. If you do not do this there is a chance that the recipient will report your phone number. If you receive too many reports from recipients, your WhatsApp phone number may be temporarily blocked or even permanently banned.
Once you have completed the creation of your template, created a contact list, and ensured that the contacts have opted-in, you are now prepared to send out an engage message using the Engage module.
Click on the Engage icon in the left menu:

To create a new engage message click on '+ New engage message'

Sending out the message:
- Name message
At this stage, you have the option to provide a name and description for the engage message. This information is for internal use only and will not be visible to the contacts receiving the message. Once you have filled in this information, you can proceed by clicking 'next'.

- Select channel
In this step, you can choose the WhatsApp channel through which you want to send out the message. Once you have made your selection, click on 'next' to proceed.

- Select template
In this step, you have the option to select the exact template message that you want to send to your list of contacts.

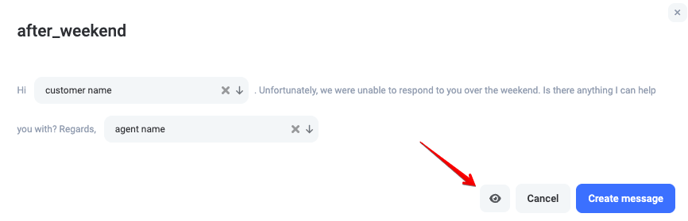
- Edit message

You can preview how the contacts will receive the template message on WhatsApp by clicking on the eye button. This allows you to see exactly how the message will appear to the recipients.
The preview message:
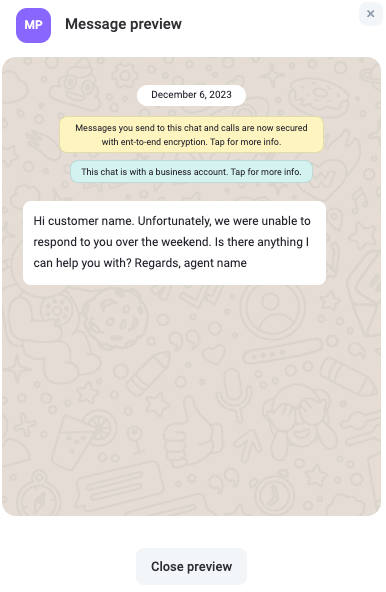
After closing the preview pop-up by selecting 'close preview', you can continue by clicking on 'create message' and proceed to the next step.
- Contact list
In this step you are choosing the right contact list.

You can also create a contact list by clicking 'add contact list'.

You have two options for adding contacts: you can either upload them using a CSV file or select from your existing contacts.
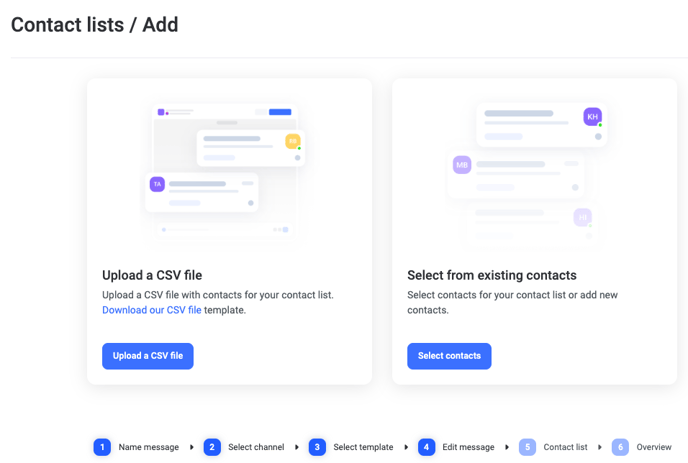
💡 TIP: we notice that it can be difficult to upload a CSV file. Check this article for tips and tricks on how to format the file.
To add specific contacts to your contact list, you can click on 'select contacts'. This option allows you to search for and include the desired contacts in your list.
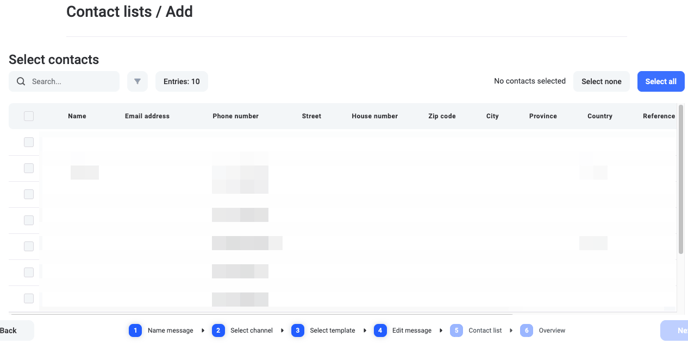
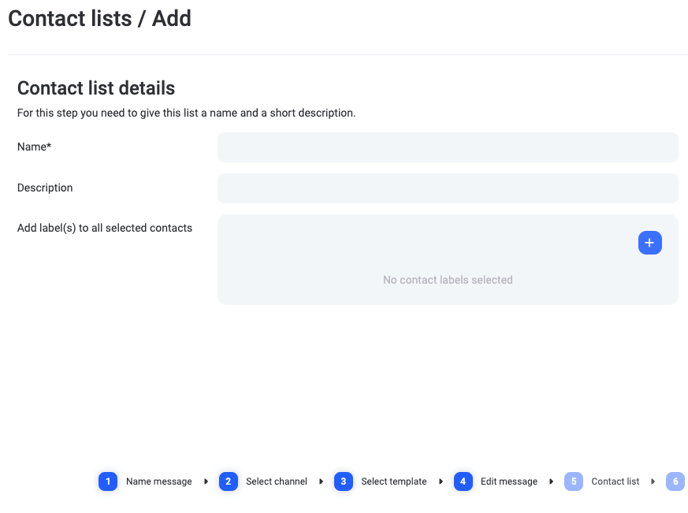
Once you have chosen the contacts for your contact list, simply click 'next' to proceed and enter a name and description for the list. You also have the option to add a label to these contacts for better organisation.
When you click on 'next' you will see a summary of the contact list so that you can double check if this contains the right information and the right information.
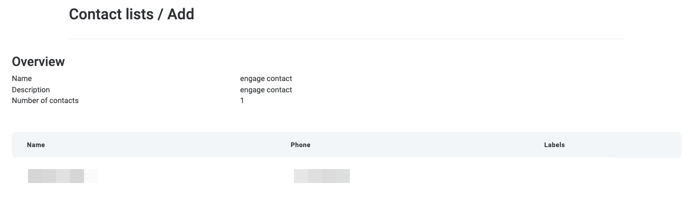
If this is the contact list that you want to use you click on 'next'. 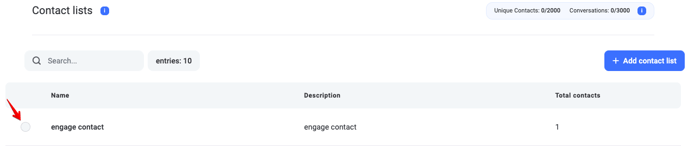
Once you have selected the correct contact list and click on 'next', you will be able to view a summary of the template message that you are about to send out.
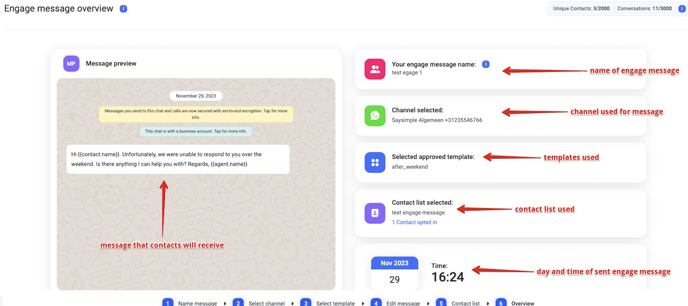
If you need to make any changes, simply click on the 'back' button. Once you have reviewed everything and confirmed that the template message is ready to be sent, click on 'send'.
![]()
- overview
When the message is sent out you will notice that the template message is send out gradually. This happens within a couple minutes. You can follow along in the overview.
Once the template message has been sent, you can locate it in the 'archived' tab. If a customer replies to this template message, the conversation will be displayed in the 'new' tab.
If you have any questions, sent us an email to support@saysimple.com.