Once inside we go to App Market/ App Marketplace and look for the App "Flowbuilder".
We must click on the "Settings" icon

Next we will see the configuration of our flowbuilder.
-
We must leave it marked as Active
-
You must put your API Key and API Secret
-
Once configured, click on "Save".

In the next step we go to App Market/ App Marketplace and look for the App "Flowbuilder".
-
We must click on "Open".

Next, you’ll see the flows you have already created. If this is your first time accessing the Flowbuilder, nothing will appear yet.
To create your Flowbot, simply click on “Create new flow.”
In this section, as you can see, if you already have a flow created, a green LED will appear on the left when the flow is active, and a red LED when it is inactive.
-
By clicking Edit, you can access your flow to modify or build it.
-
By clicking Export, a .JSON file containing your flow will be automatically downloaded.
-
By clicking Delete, your flow will be permanently removed.

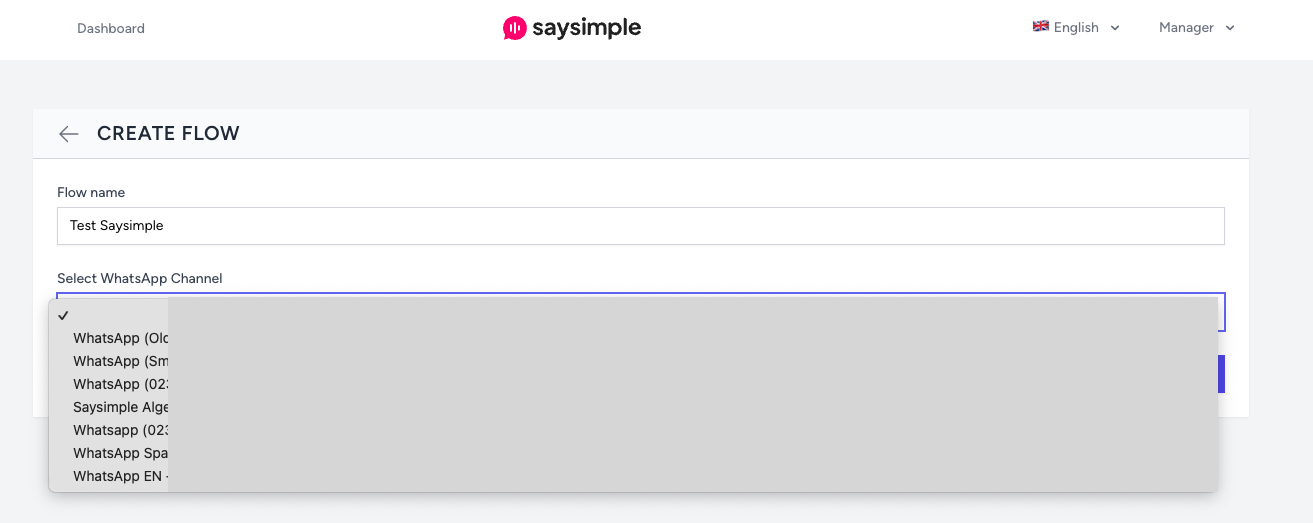
Let’s continue. In this case, we need to click on “Create new flow”, and then you’ll see the following screen:
-
On this screen, you’ll need to enter a name for your flow.
-
Once you’ve named it, select the Channel (Phone number) you want to sync with the flow you’re about to create.
-
Finally, click “Save.”
Once you’ve clicked Save, your new flow will appear in red.
To start editing it, simply click on “Edit.”

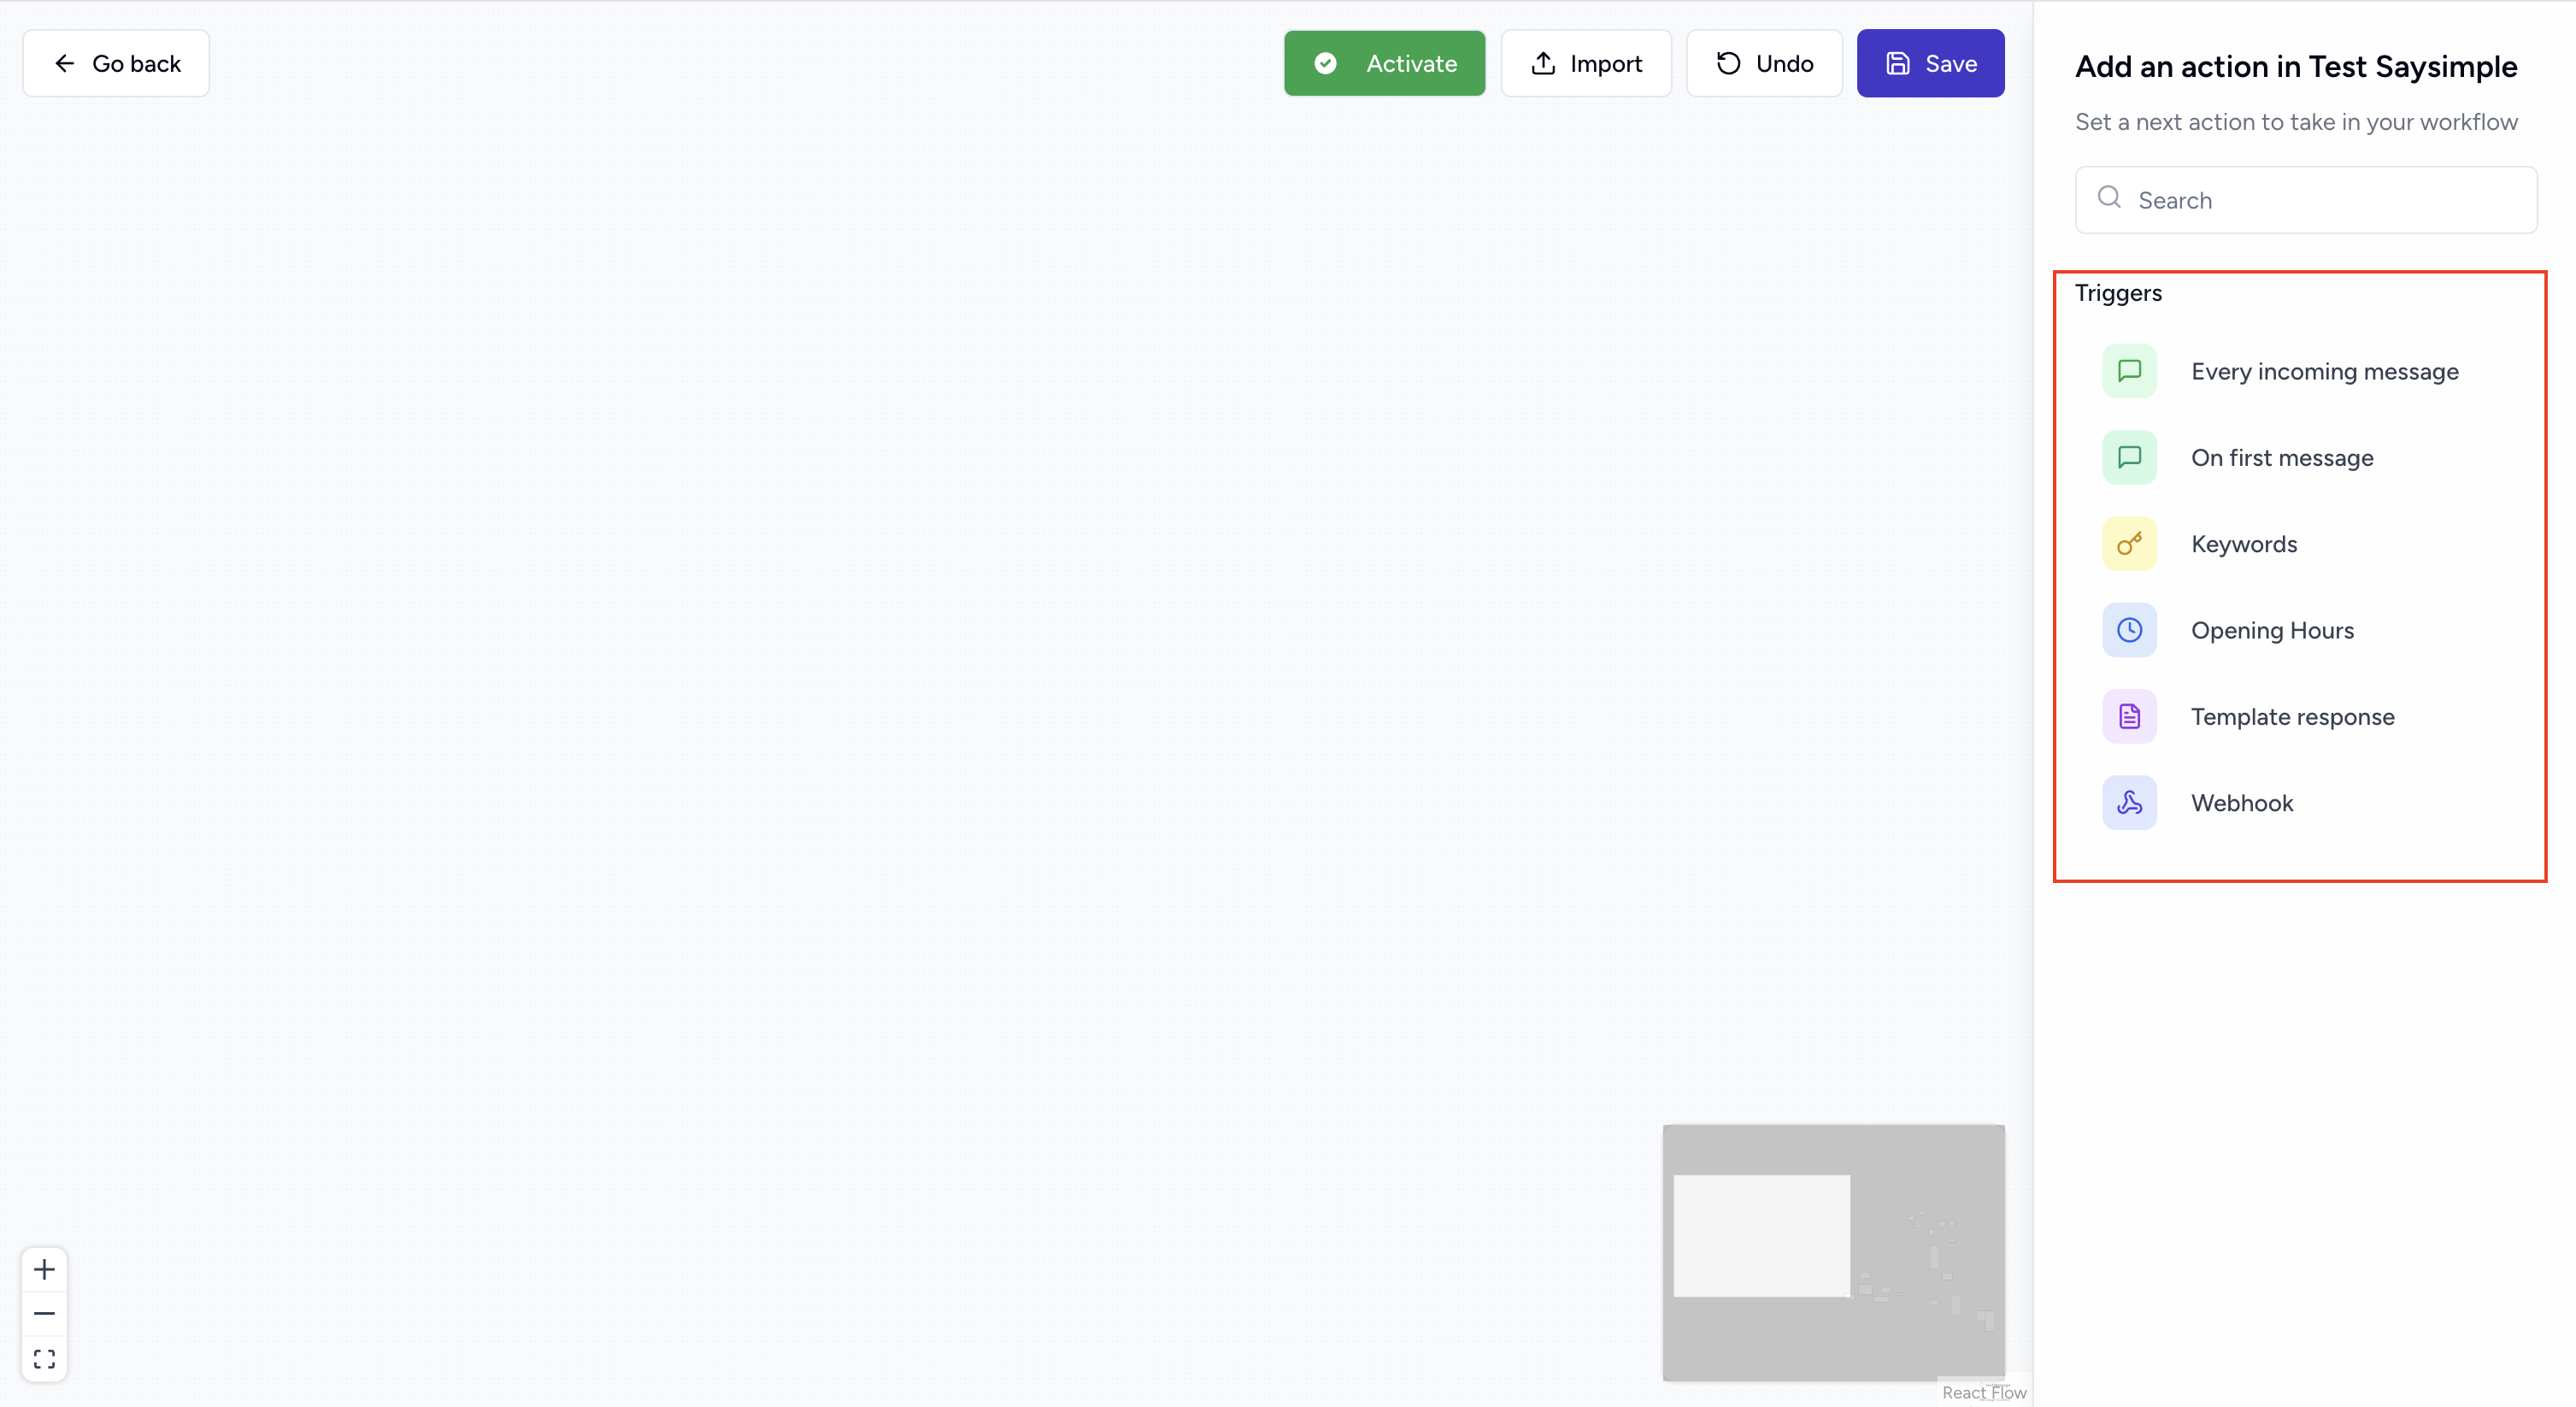
What you'll see next is the panel where you’ll build your flow from scratch.
On the right-hand side, you’ll find 6 Flow Triggers, from which you’ll need to choose one to get started.
-
Every incoming message: Any message sent by the customer will activate our flowbot.
-
On the first message: It will only activate the flow on the first message the customer sends.
-
IMPORTANT: It must be connected to the next step of "Send template" (We can create a welcome template in our platform with buttons to connect it, for example).
-
-
Keyword: The word we put will activate the flowbot.
-
Hours of Operation: The flowbot will only be activated within the schedule we select.
-
Template response: We can select the template we want, once we send the template the bot will be activated.
-
Webhook: The flow will start based on an incoming Webhook. The first message after the Webhook must be a template message (This setting will override if an agent is already assigned to an ongoing conversation).
If the contact is unknown within your Saysimple platform, the contact will be created automatically based on the mandatory fields "name" and "phone", so they must be provided in the message body.
-
To add a trigger to your panel, simply click on the one you want and drag it to the desired position within the panel.
Next, we’ll go through each of the available options the Flowbuilder offers to start building your flow.
